Building a HERMS system
Over the next couple months I’m going to be building two HERMS brewing systems. One that’s primarily propane, and one that’s all-electric (for now at least). Yes, this does sound a little strange considering I already brew on a HERMS system as I detailed here. Well, my good friend Greg and I share that brew system. It’s a mixture of his parts and my parts, and it’s turned out some great beers over the past couple years. It’s been particularly nice for me, as I live in a small, up-stairs condo, with a small kitchen, and no backyard. Having propane burners and a back porch to brew on has been fantastic.
 Unfortunately, Greg might be moving out of state later this summer, and obviously, we won’t be able to share the same brew system. So we’re in the process of building two complete HERMS systems out of one. Greg needs a temp control setup, including a control box, and I need brewing vessels, fittings, and heat sources. So on to the details, and some more bling shots.
Greg’s new system:
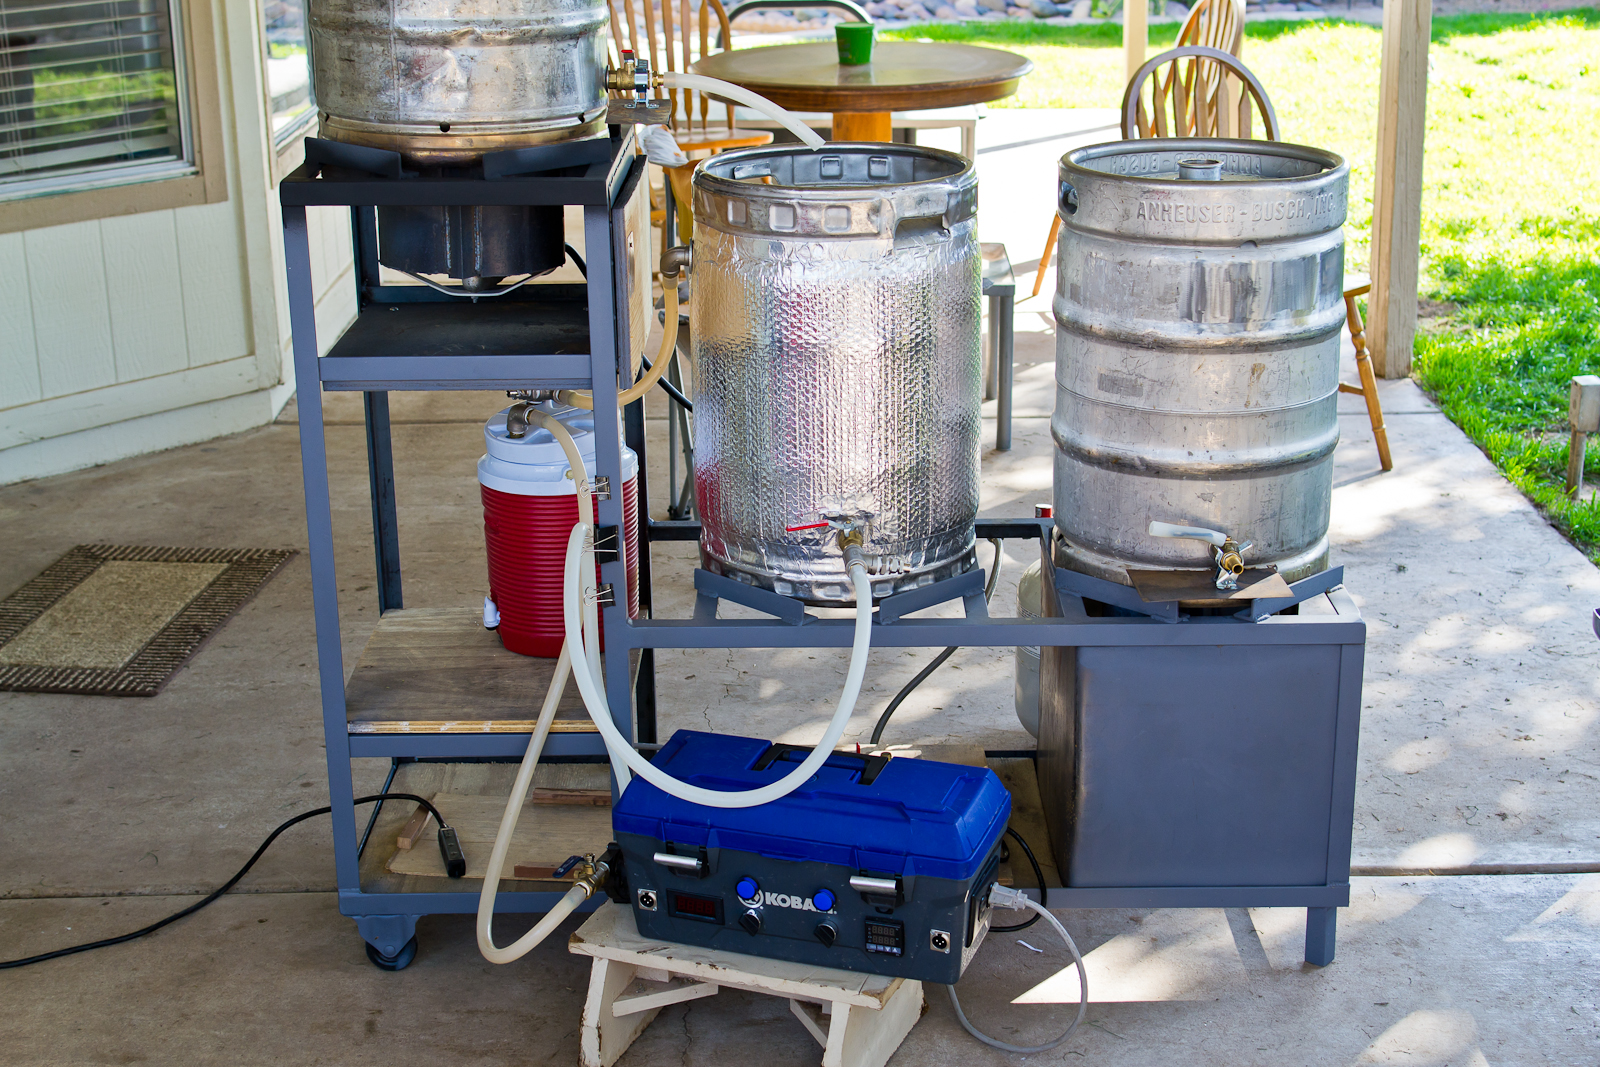
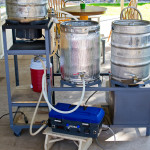
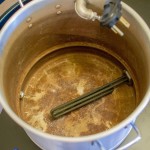
Greg already has a very well built brew-stand with three keggles. The Hot Liquor Tank and Boil Kettle both have propane burners mounted underneath. He has a full-width false bottom in the Mash Tun, and center-drawing dip tubes in all three kegs.
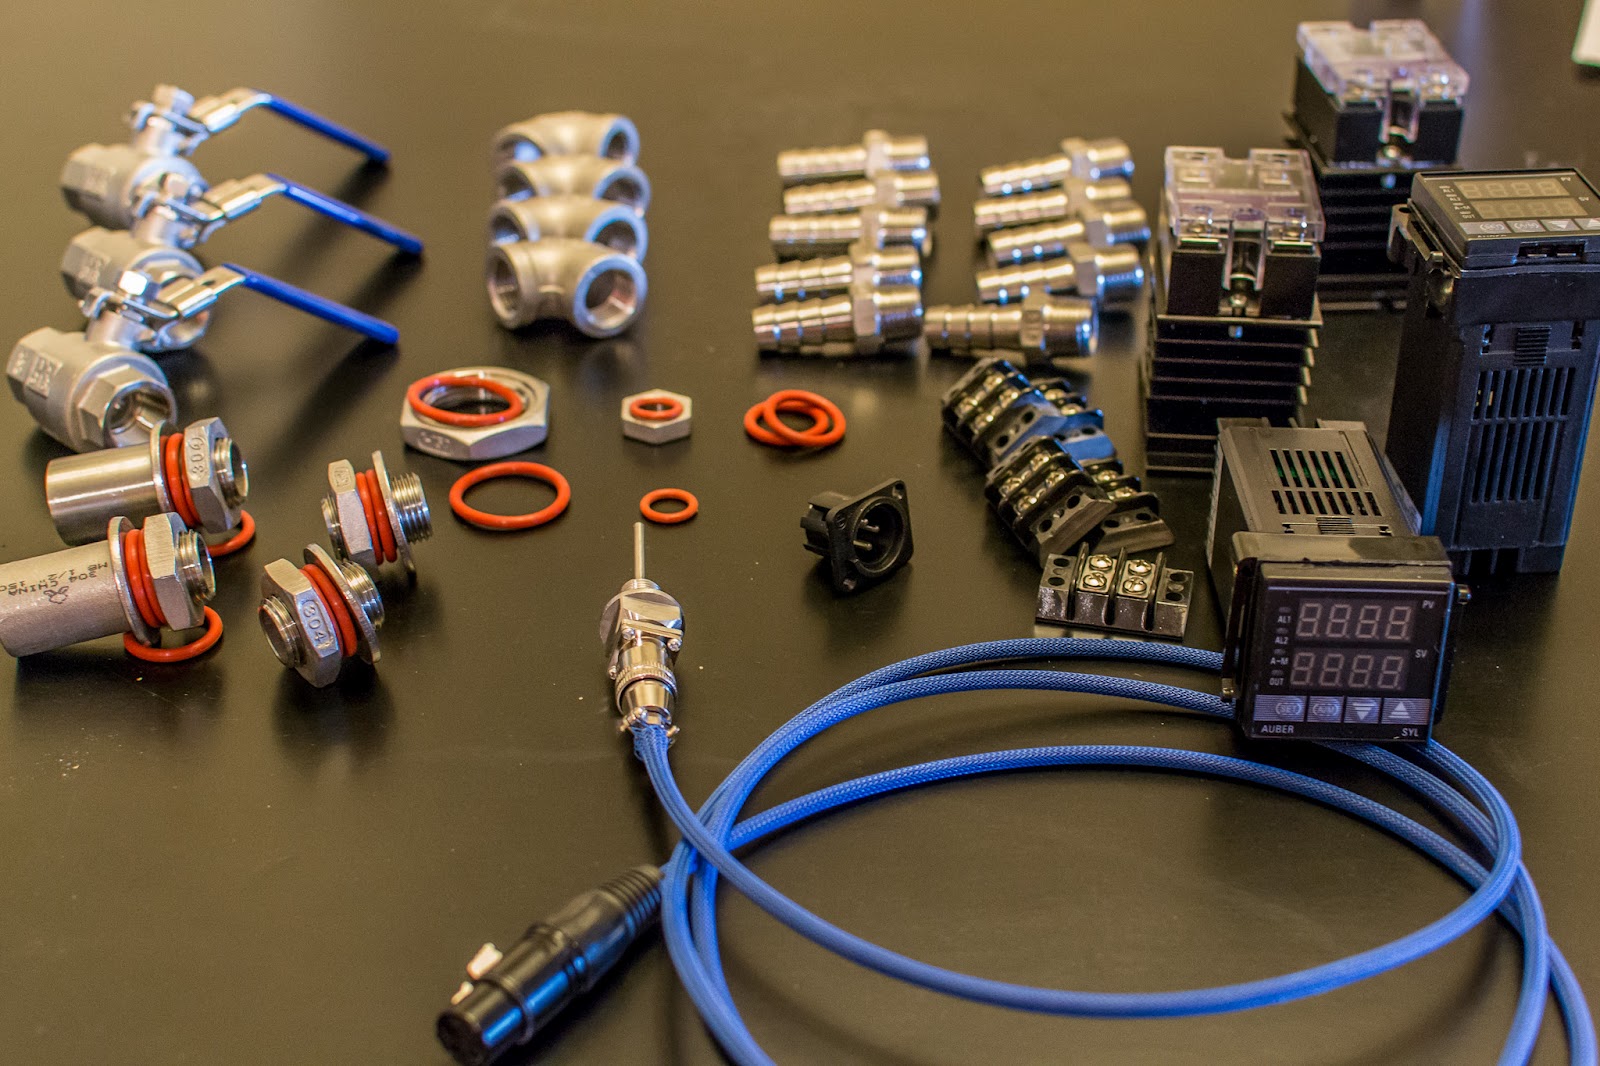
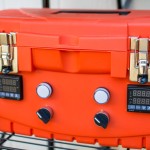
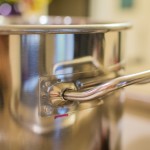
We need to build a new HERMS heat exchanger, and a control panel with all the electronics. This will include a PID, solid state relay (SSR), RTD temp probe, switches, and indicator lights. He’ll be back up and running with that.
My new system:
I’m starting more from scratch. I have to build a brew system around a HERMS HEX, and a control box, while working around the confines of a condo-sized kitchen. So, for now at least, I’m going all electric. The plan is to mount a 4,500w water heater element in an 8-gallon aluminum kettle. This electric kettle will serve dual-purpose as a HLT and a boil kettle. I’m planning on using the 50a 240v range outlet, I just need to figure out how I’m going to get a GFCI for it. The mash tun will be a converted keg, exactly like Greg’s, and can set on the counter next to the kettle. I need an additional PID and SSR to control the element in the kettle, and all the fittings to make it work.
My idea is to plan for a future, when I actually have room for a brew stand. So all of the fittings and electronics from my kettle can transfer to a bigger vessel, and function as an electric HLT down the road. I’m not the biggest fan of using an electric element in the boil kettle, but it will suffice for now with my limited space.
This will be the first of a number of articles that will detail how to build your own HERMS system on the cheap. There’s a number of other home breweries out there that are prettier, but our setups are being built on a budget, which I know most brewers can relate to. Think of this as The Electric Brewery for the broke homebrewer =)
This comment has been removed by the author.
Where’s the follow up articles on this?