How To Go From Grain To Glass Quicker
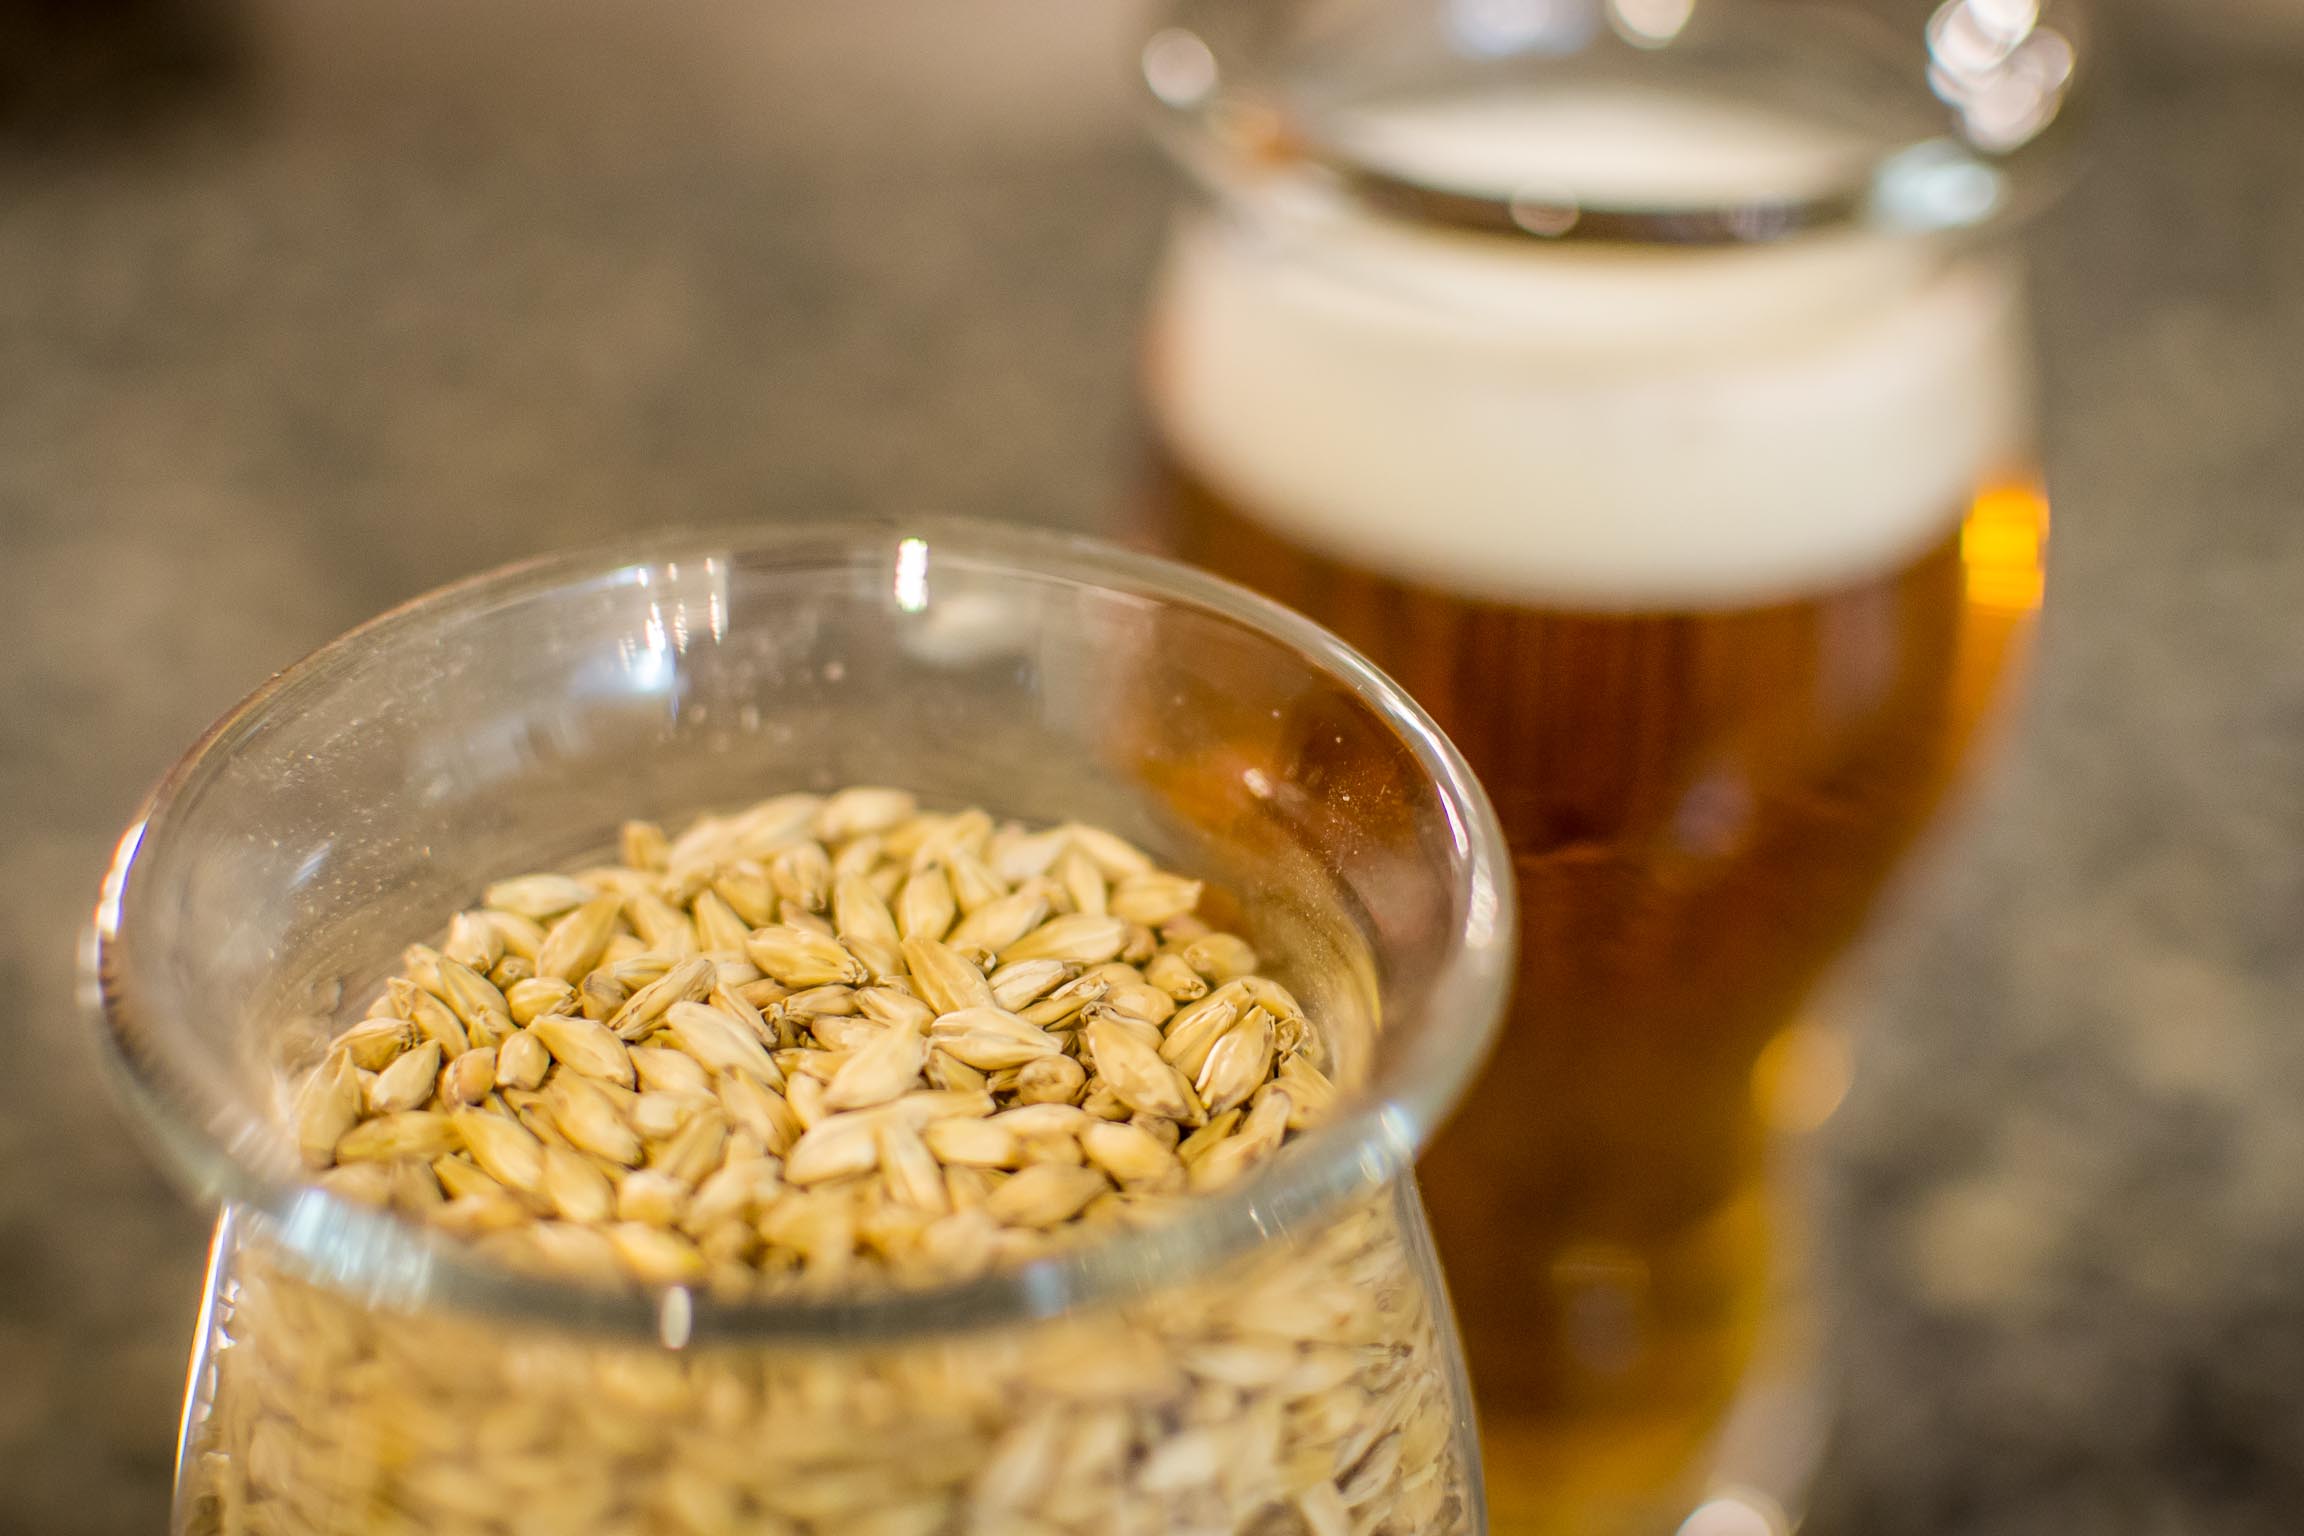
As home brewers, we often stress over every process of beer making, striving to make the best beer possible. But let’s face it, sometimes you need to make a batch fast. Over the years, I’ve lost count of how many times I’ve squeezed a batch of beer in before a holiday, gathering, or party. I’ve gone from grain-to-glass in as little as ten days, and still been proud to put my name on the beer. So let’s talk about some of the techniques and considerations that can help you fill an empty keg, quickly.
Style Selection
The very first consideration when brewing on a tight deadline is what style of beer you’re brewing. I’ve heard people claim that beers with big complex flavors don’t fair well, and I actually find that to be the opposite. Stouts, Porters, or anything hoppy work great. Sure, some of these styles might not be at their absolute peak in a short time frame, but their big bold flavors tend to taste good when young. I tend to avoid brewing these beers too big, but anything in the 5-6.5% range is typically fine.
The type of beers you should steer clear of are any style that requires subtly to shine. Kolsches, Lagers, Cream Ales, and Blonde Ales all come to mind. Those styles are all noticeably affected by small off-flavors or yeast bite. I used to think Blonde ales were a great candidate for quick batches. They’re simple, ferment quick, and easy to brew. The problem is there’s just no where for off-flavors to hide in a Blonde Ale; it’s just a hard style to rush. As for lagers, they’re pretty much completely ruled out because they ferment too slow. Most of my lager fermentations have taken at least two weeks to hit terminal gravity.
Yeast Selection
The next important thing to think about is which yeast to use. Choosing a yeast that ferments and flocculates quickly is one of the most important factors for cutting down your grain-to-glass-time. California Ale yeast is most people’s go-to yeast, and it’s ok at rushing a batch along. It ferments pretty clean near the upper end of the temperature spectrum. My problem with Cali Ale yeast is that it isn’t the best flocculator. The US05 variant of it tends to be an even worse flocculator.
I’ve had better luck using something like Super San Diego yeast (WLP090), or more preferably, an English yeast. Super San Diego is the strain I reach for more than anything else. It’s flavor profile is very similar to Cali Ale yeast, but it ferments a couple days quicker, and it flocculates much better. Another option is using an English Ale yeast. If you’re brewing a style where a little esters are acceptable, English Ale yeasts are fantastic. They ferment quick, and flocculate like a ton of bricks. I’ve also found that yeasts like WLP002 and WLP007 ferment quickly even at cooler temps, which can still produce a very clean beer.

Pitching Rates
Since we’re discussing yeast, pitching rates should be the next topic of conversation. It’s almost always recommend to pitch the proper amount of yeast, but this is one of those situations where I recommend pitching 50-100% more yeast than normal. I’m not saying you should rack your beer onto an entire yeast cake, but a little more yeast will definitely help.
The reason for this is when first pitched, yeast go through of rapid reproduction. Research has shown they immediately start converting sugar to alcohol and CO2, but not at the rate they will later in fermentation. In this ‘lag phase’ yeast are primarily focused on reproducing until there are enough cells to ferment the amount of sugar. This is also called the ‘adaptation phase’ for that reason. The yeast are adapting to their new environment. The lag phase can last 12-36 hours, so it should come as no surprise that trying to shorten that would help us here.
The easiest way to shorten the lag phase is simply to pitch more yeast. If you overpitch by 50-100%, you’ll cut the lag phase down to hours instead of days. Now it’s worth mentioning that overpitching does have some downsides. Overpitching tends to suppress esters, while increasing higher alcohols. It also has a tendency to leave the beer with a little less body. I find it usually yields a cleaner, but thinner beer. If that’s something you can live with, it’ll shave a couple days off the process. It should go without saying, you definitely want to use healthy, happy yeast. Either make a starter, repitch yeast from a prior batch, or use properly re-hydrated dry yeast. The healthier your cells are to start with, the quicker they’ll get to work fermenting your beer.
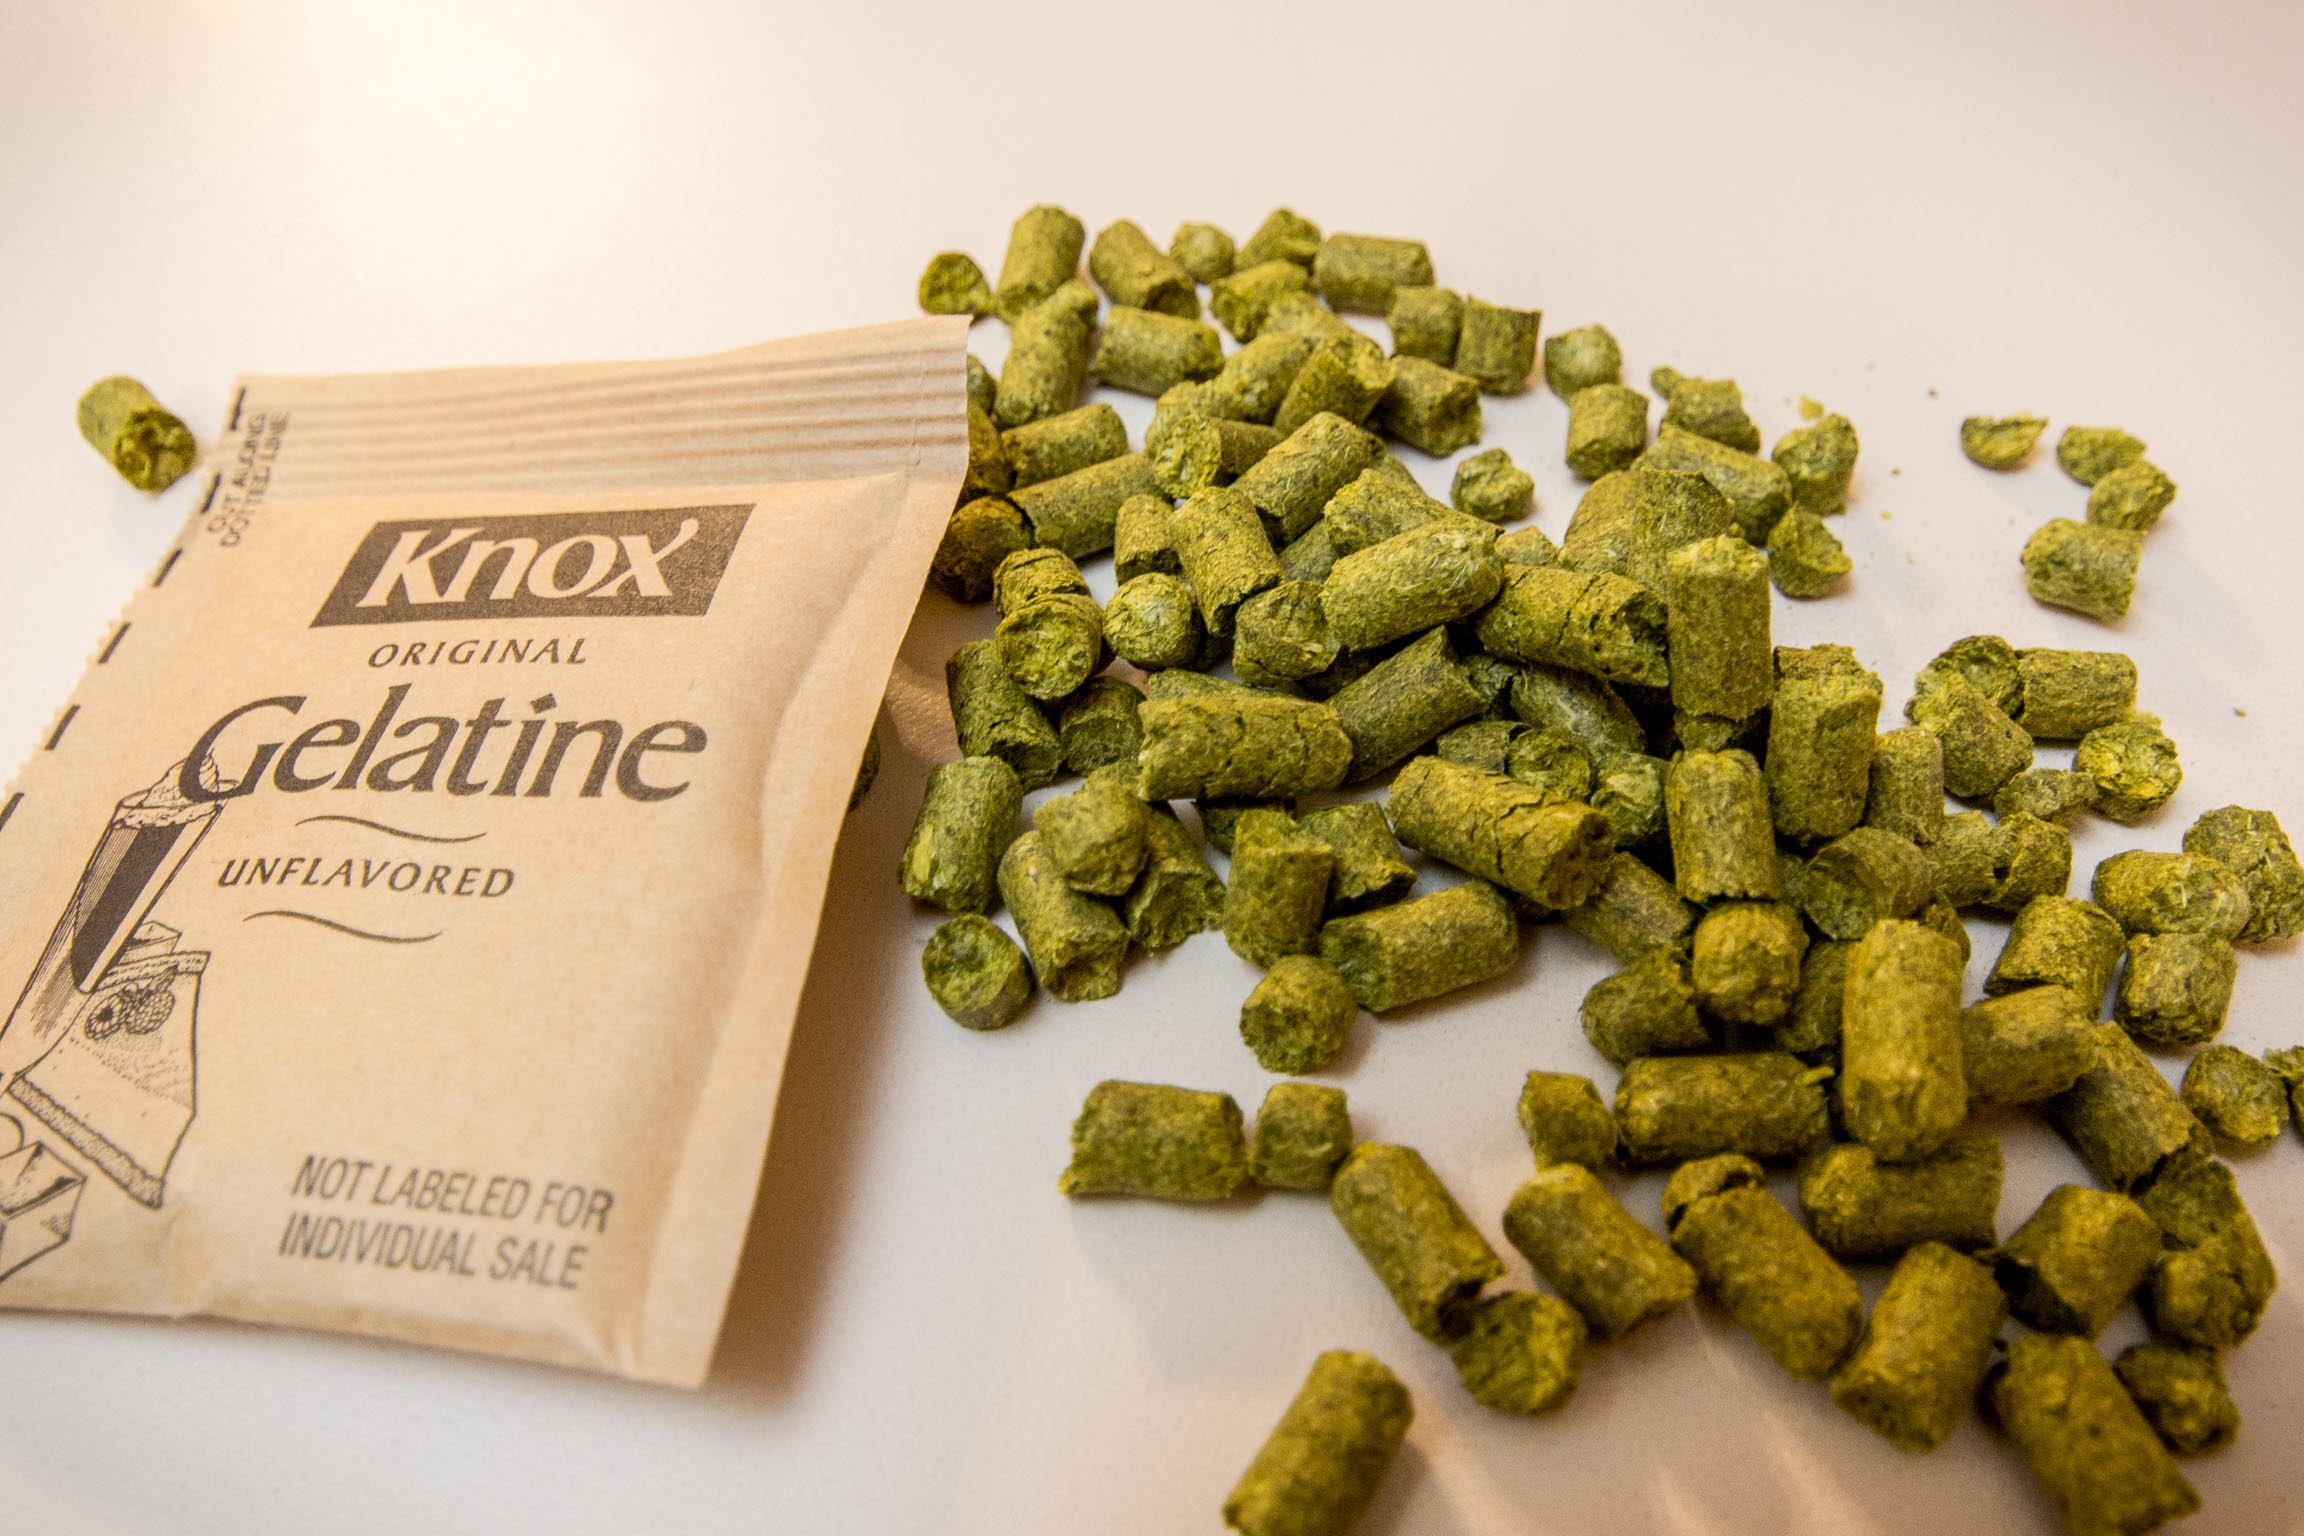
Dry Hopping
If you choose a hoppy style, you’re probably going to want to dry hop the beer. What’s an IPA without dry hops, right? Unfortunately, dry hops add time to the process, so how do we handle this? The answer is temperature and time. Dry hop warm, and dry hop fast. I’ve found if you raise the beer temperature to 68-70F, you can get a pronounced dry hop aroma in as little as 24-48hours. I like to throw the hops directly in the primary, usually when there’s a little yeast activity left.
Yes, I’ve advocated against this in the past, yes, the yeast can scrub away some hop aroma. There’s an easy way to fix that though: just use a little more dry hops. For a beer that I’m rushing like this, I just add 25-50% more dry hops than I typically would.
Post Fermentation
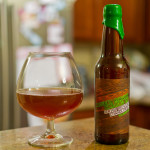
If you’ve done everything well up to this point, primary fermentation should be complete within 4-5 days. It’s almost always a good idea to give a beer an additional day or two after hitting FG to allow the yeast to clean up fermentation byproducts, and start to floc at fermentation temperature. By day 6-7 you should be ready to package your beer. While the techniques in this article apply to bottling and kegging, bottle conditioning will add 2-3 weeks to the process. There just really isn’t a way around that. For those that keg though, you can be serving beer within a couple days.
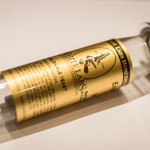
I highly recommend fining the beer with gelatin prior to adding to the keg. Gelatin will drop the vast majority of the yeast out of solution, and will give the beer a finished polish that you just can’t achieve without weeks of conditioning. You can add it to cold or room temp beer, so long as you drop the keg in the fridge right after.
Quick Carbonation
So your beer is in the keg at this point, it’s been fined with gelatin, and you drop it in the kegerator. It’s normally at least a week before it’s got a decent amount of carbonation right? Let’s force that process along. Adjust your pressure regulator to 30PSI, and let the keg sit at that pressure for 24 hours. After 24-30 hours, drop the pressure to your normal serving pressure (8-14PSI), and vent the extra pressure in the keg to return the keg to your serving pressure. Give the beer about one more day, and you’ll find the beer is 80-90% carbonated.
Sure the beer won’t be 100% carbonated, and it’ll slowly finish carbonating over the next couple days, but it’s plenty carbonated to drink at that point, and the casual beer drinker will never notice the difference.
Summary
Yes, it’s entirely possibly to churn out a fantastic beer in as little as ten days without compromising quality. Choose a style with bold flavors, choose a yeast that ferments quick, pitch plenty of healthy yeast, dry hop if you like, fine the beer with gelatin, and carbonate the beer quickly with really high pressure. So next time you’re asking yourself: “Do I have time to get a batch of beer ready for an event?”, the answer is YES!

You bring up some good points – especially the blonde ale! I have made that mistake in the past. For quick grain-to-glass beers would you increase mash temps and/or dextrins to proactively counteract the thin body (from overpitching?)
Wheat beers are also a great option for quick turn-around and taste best young. I’ve gone grain-to-glass in less than a week with great results.
I’ve also found the accelerated lager method over on Brulosophy works fantastically for producing a lager in less than a month…not quite as quick as you’re talking about here but faster than most home-brewers would have you believe is possible. I had a beautifully clear and great tasting German Pils on tap in 3 weeks.
Thanks for tip on the Brulosophy site, that is great wealth of knowledge as well!
English dark mild ale is one of my favorite quick styles. Last time I made it I compared tasting notes at +7 days (since brewing) and +21 days and there were only subtle differences. Low alcohol beers mature very quickly.
great discussion. i would add a section on temperature. wlp090 is also my yeast of choice, and i love how quickly it works when allowed to free rise to 68F or so. this will be true for most yeasts, though, and you can safely push the temperature into the upper 60s after the growth phase is done without worrying about excessive ester production or high loss of volatile hop compounds.
Interesting article. I notice that you keg most of your beers quickly after fermentation has finished. It obviously works for you but I was always led to believe 2-3 weeks in the primary was a good idea. Does this depend if you can control ferm temps correctly? Do you see any benefit from leaving a beer on the yeast cake longer?
Cheers.
I really don’t see any benefit from leaving a beer on a yeast cake for weeks. A few days, absolutely. A few weeks, no. A lot of it has to do with healthy yeast and a clean fermentation. Controlled temps definitely help in that regard.